Day 16-18: #100daysofmycraftdiary

Days 16-18 is when I didn’t really want to do actual art art, after the mixed-media fun from the previous few days. It’s a little ‘art break’ where I didn’t have to accomplish anything or complete any project, but still showing up for mycraftdiary.

I wanted something quick for Day 16, so I worked on my Smashbook instead. I have a dedicated tray full of ephemera that I wanted to add to my Smashbook, so I just picked something to glue to my Smashbook.

Pikachu, I choose you!

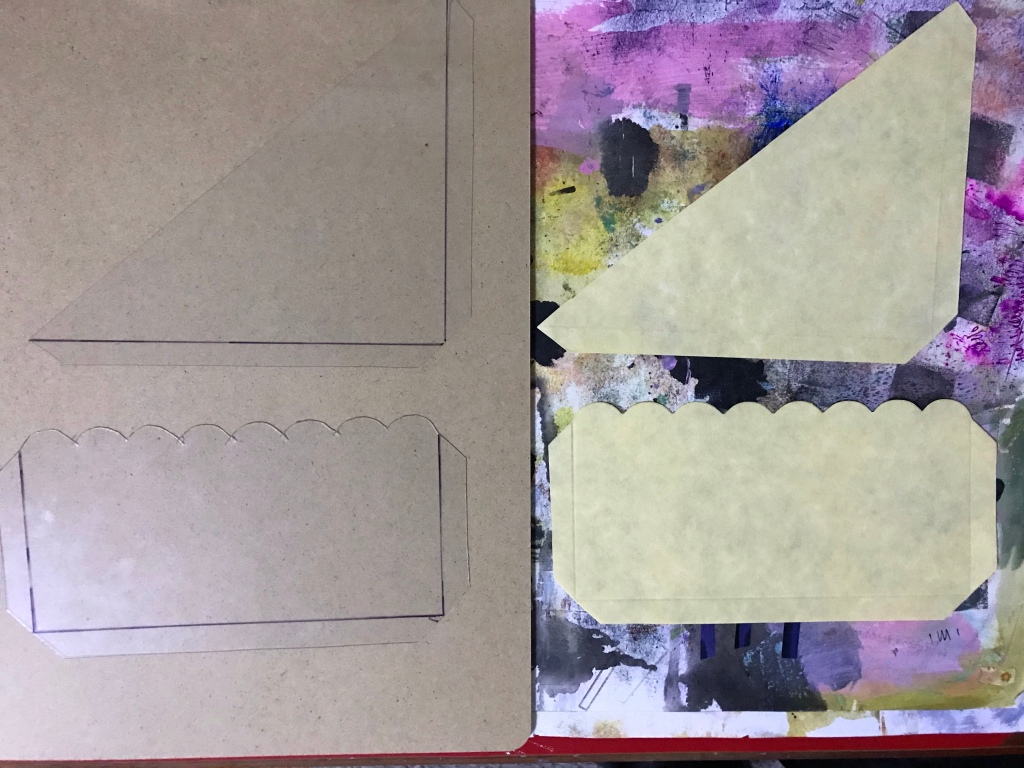
This Pikachu has been living as my wall decoration for about a year, and it was a paper headband I got from the Pokemon Go Safari Go event here in Sentosa last year. I couldn’t bear to throw it away but I wanted to update my decorations, so it went to my Smashbook instead! I simply cut away the headband portion and audition the Pikachu in my Smashbook, finally deciding it would look great on the back end papers, with its ears poking out of the journal – it looks pretty fun even when the journal is closed! I left a spot between its ears without gluing it down, so i have a little pocket that I can tuck a tag or something in if I want. More pockets is always a good idea in Smashbook since I’m always looking for them.

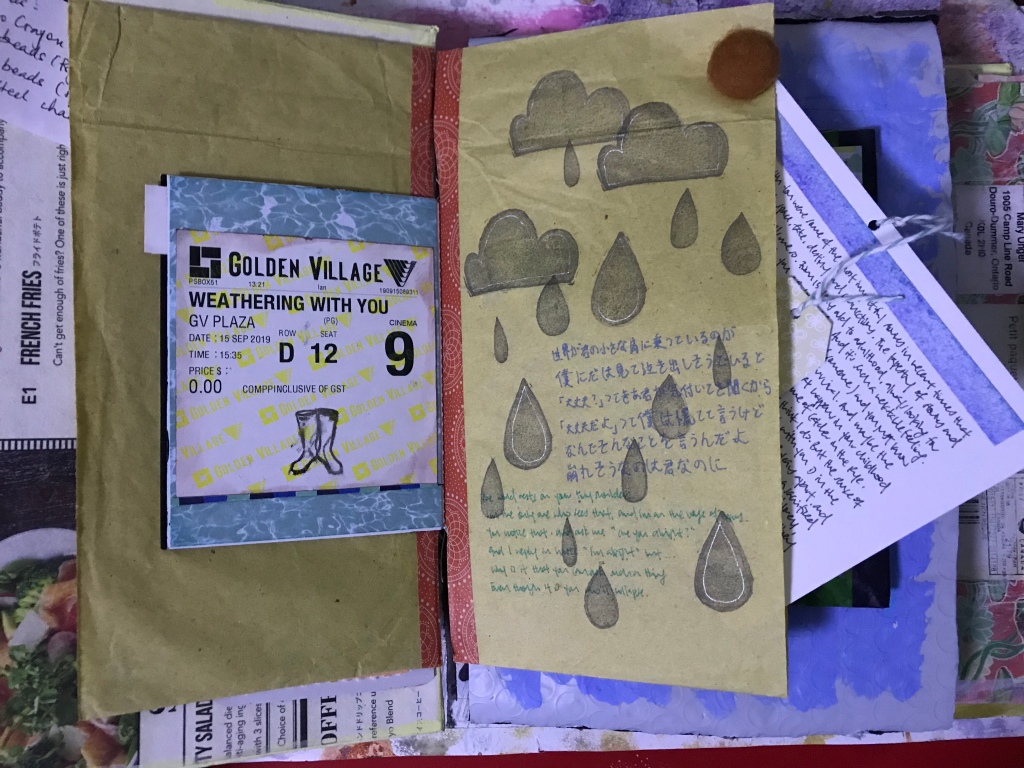
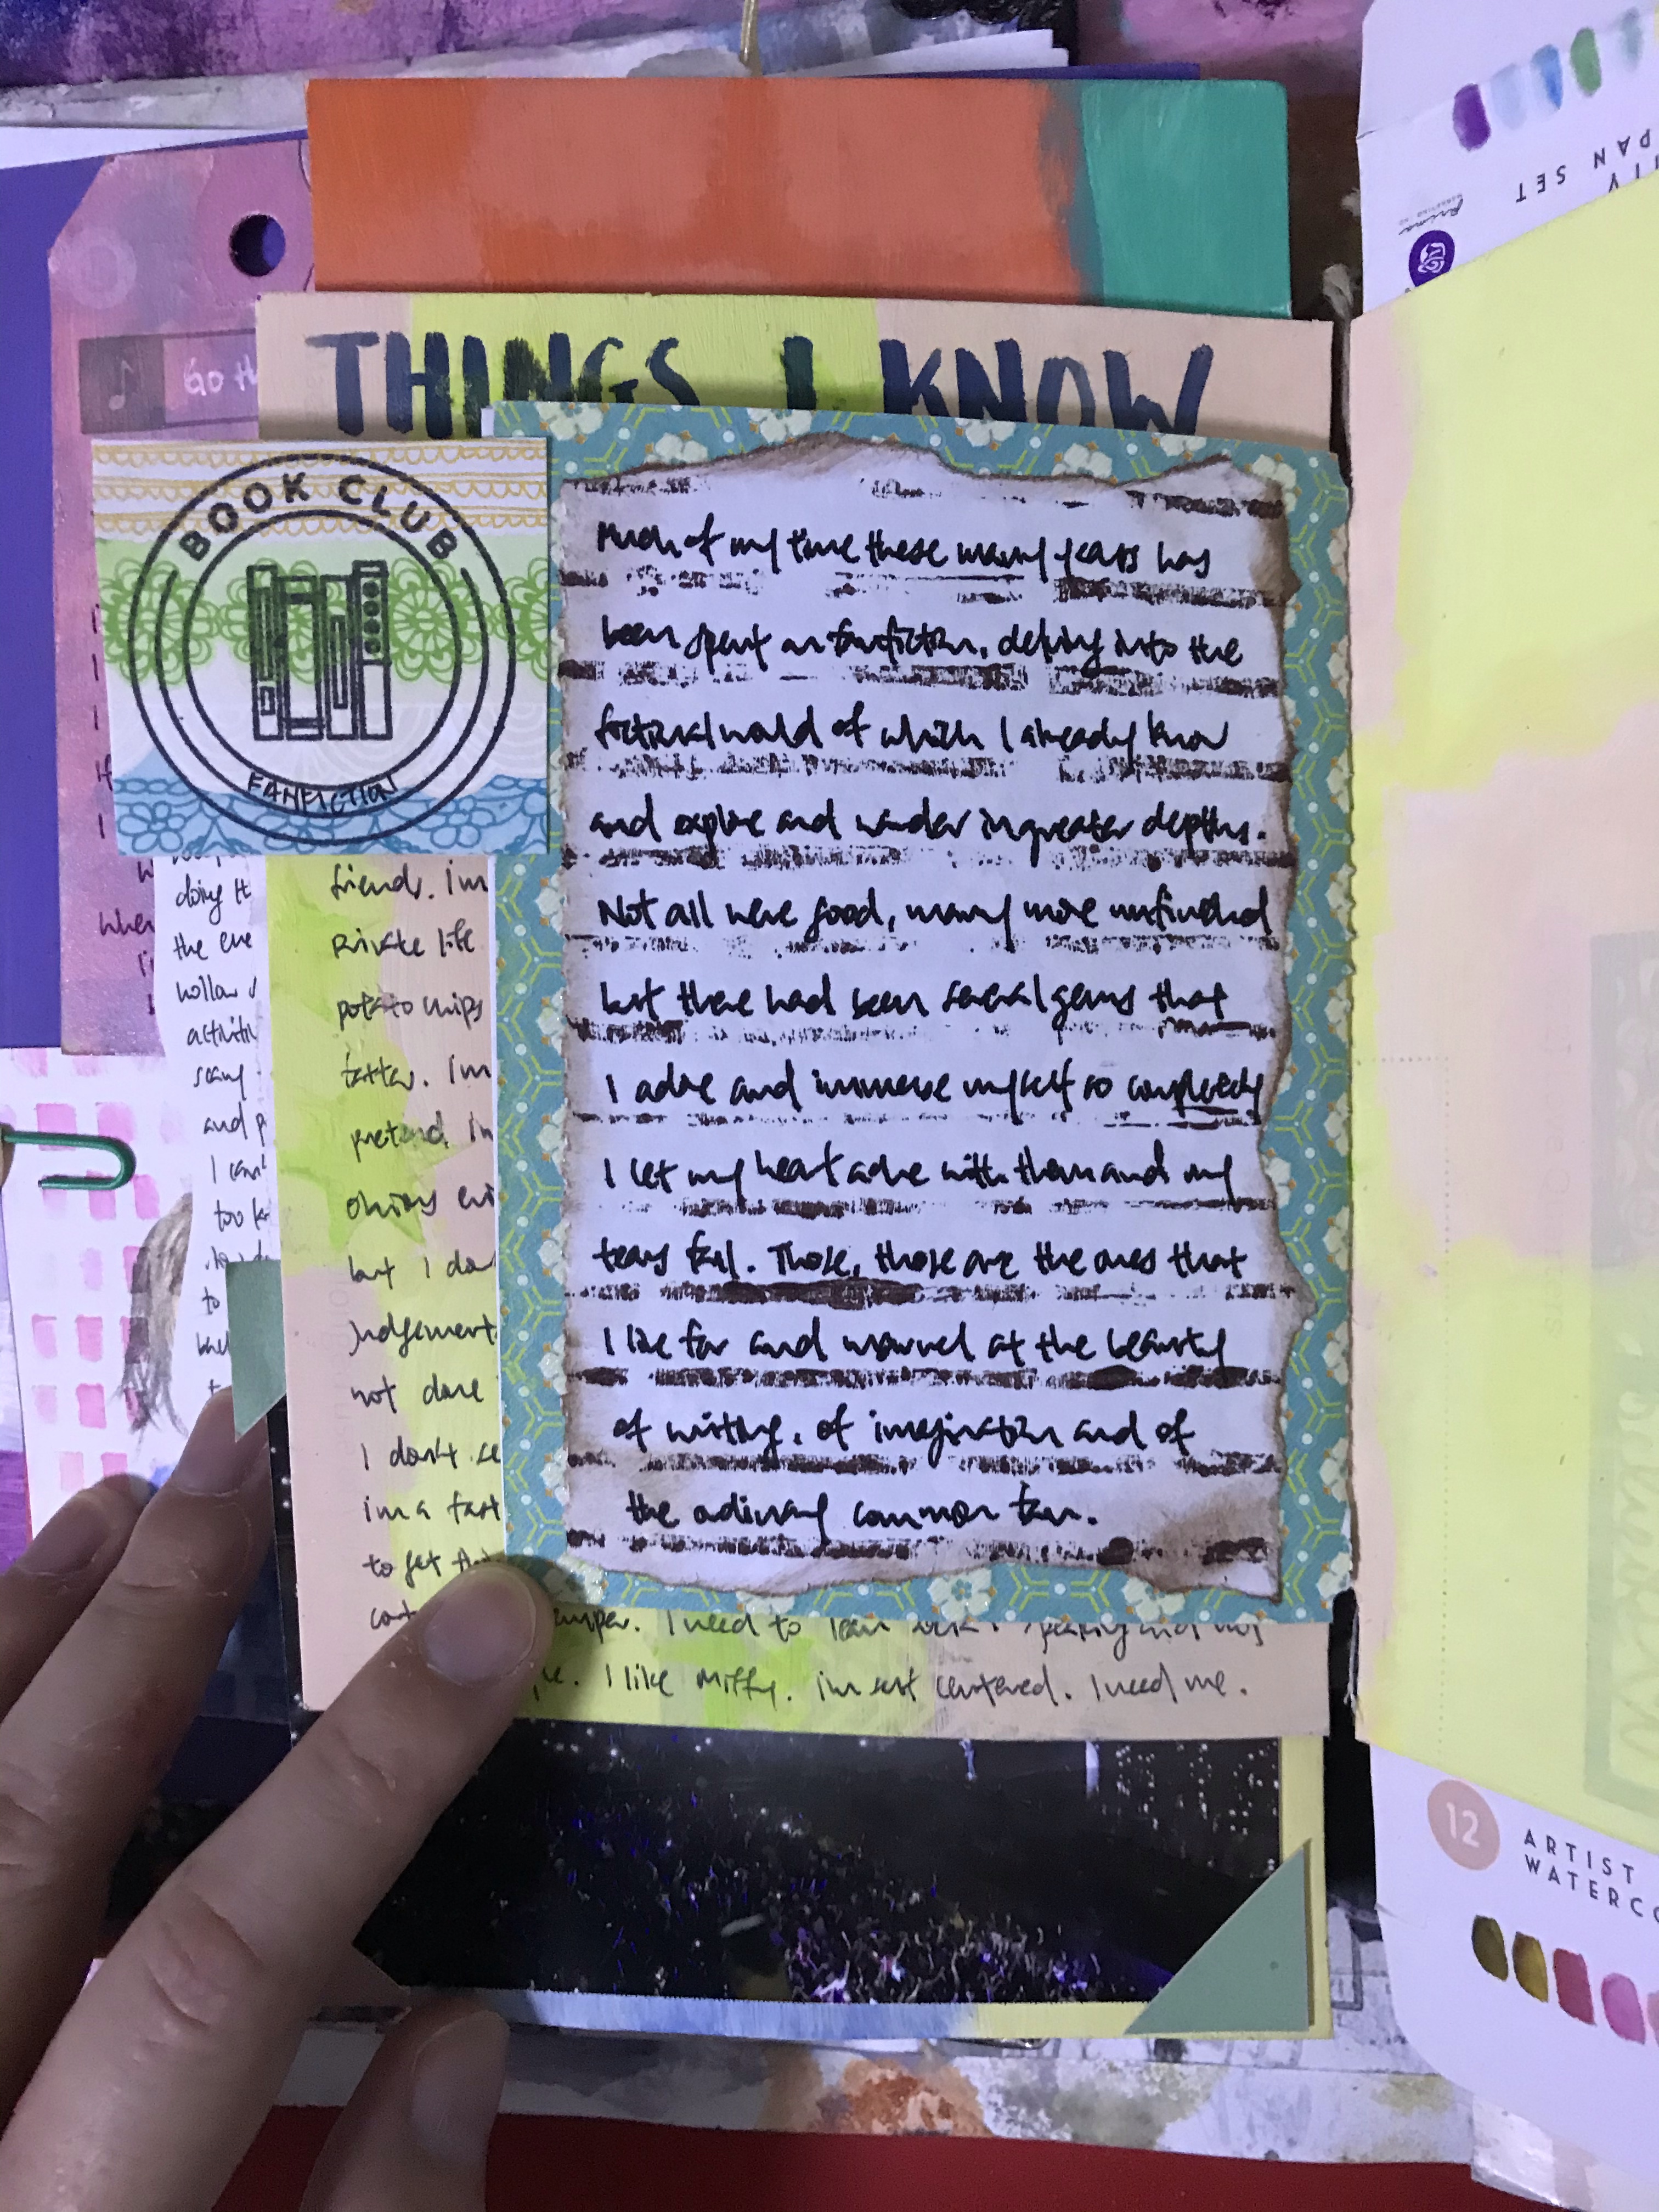
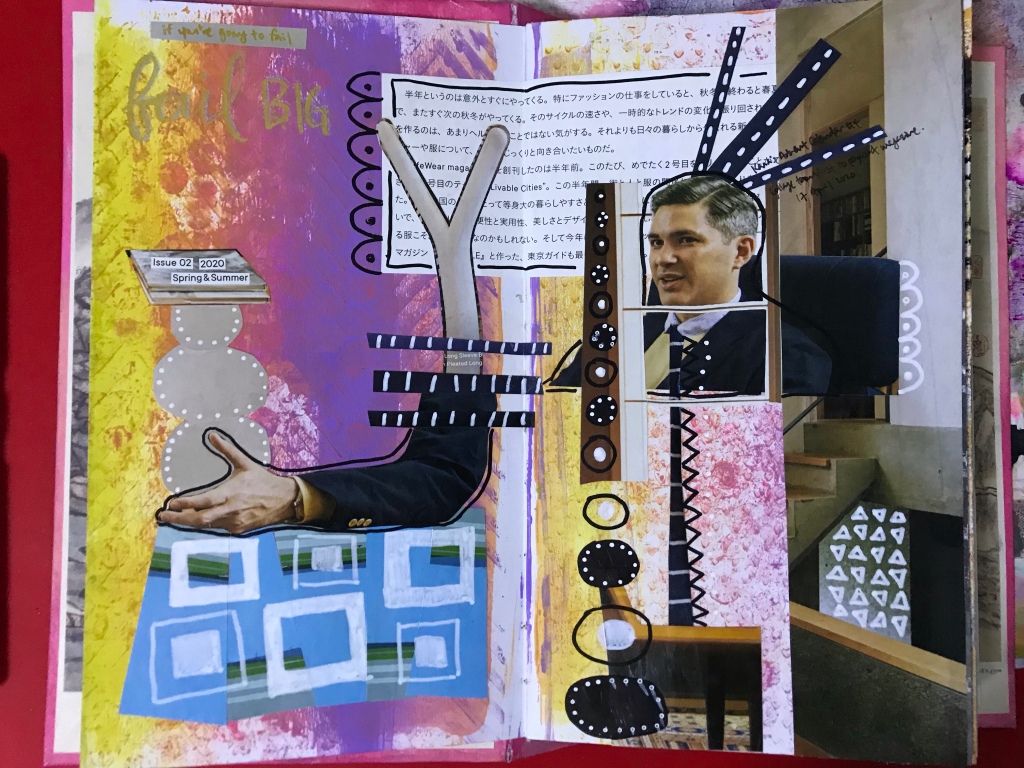
A Smashbook, if you don’t know what it is, is a journal where you can stick down your memorabilia and collected ephemera in. I use it as a memory keeping device, gluing things from everyday that I wanted to keep and mean something to me. My Smashbook is a handmade junque journal, which I made from collected junque from the covers to the pages. The bookbinding method I used is from one of Jennibellie’s older bookmaking video.

Day 17 Saw me itching to cut something with my Silhouette again. I have been paying attention to Silhouette Design Store sales and buying some designs that I thought I would use again and again, so I’m guilty of having designs that I haven’t looked at or die cut with.

My main aim is to play around with a Snowflake dingbat font, as I wanted some snow flurries for an art journal page I had in mind. While I had Silhouette Studio open, I played with a Feathers dingbat font and Mandala dingbat font as well, thinking of cutting them out to have them ready for future projects. And oh boy, what a challenge it was to cut them since they were all delicate patterns. I can’t tell if it’s my lack of experience, but it was actually very tedious to weed all the designs and get the die cuts unharmed – it probably is, which just makes me more determined to improve and become a pro at this.

Look at the details on the snowflakes – they are delicate little die cuts. For scale, each square in the photo correspond to one inch squares.

Some thoughts from Day 17’s die-cutting session:

  • I like to buy dingbat designs, because I feel like I get more value for money with 26 different design of the same theme – it gives me a variety of design that I can work with, without feeling like I am using the same design over and over again, which is not something I like.
  • However, I am also slightly lost on how best to utilise the dingbat designs on Silhouette Studio. I bought the Designer edition to make use of the Glyph feature with dingbat fonts, but I didn’t find it very easy to use as the images are still pretty small even set at the largest sized glyphs. I also found it a little finnicky to adjust the font size so that the images are large enough, and it’s difficult to judge what font size corresponds to the size. I ended up creating a studio file with all the separate glyphs so that I can see them easily and just copy and paste the ones I want the next time I need to cut something. Plus, that can be resized easily as they are individual images.
  • I am very bad at visualising images on screen to what they will look like in real life. This include size of the die cuts, and I find I need to test cut a few times to get the size right, even though I can see the grid in my Silhouette Studio. I also made the big mistake of thinking I can cut the mandalas die cuts to use them as doilies, but as I obviously can’t imagine them well enough because most of the mandalas actually cut in separate pieces, which I couldn’t visualise until I cut them out. And they look nothing like how I imagined them to be like doilies (of course..). I also tried to cut them out of copy paper, which did not work out at all since I couldn’t remove them from my Silhouette mat. All around failure in this cutting project I’m afraid. I’ll need to think of how I can make the mandala designs to work like doilies – got a few ideas in my head and after some playing around in Silhouette Studio it looks like it might work, so fingers crossed for the next time I pick this up again.
  • Weeding die cuts is tiring. Especially when they are so delicate and I’m so afraid to tear them apart. I definite did tear some parts in the process, and I googled a little as I am not confident in my blade settings. I’ll work on refining my blade settings next time I work on die cutting, now that I finally understood test cut. As you can tell, I’m more of a do and learn person, because I would cripple myself with all the doubts and trying to learn everything before I actually start on a new thing otherwise.

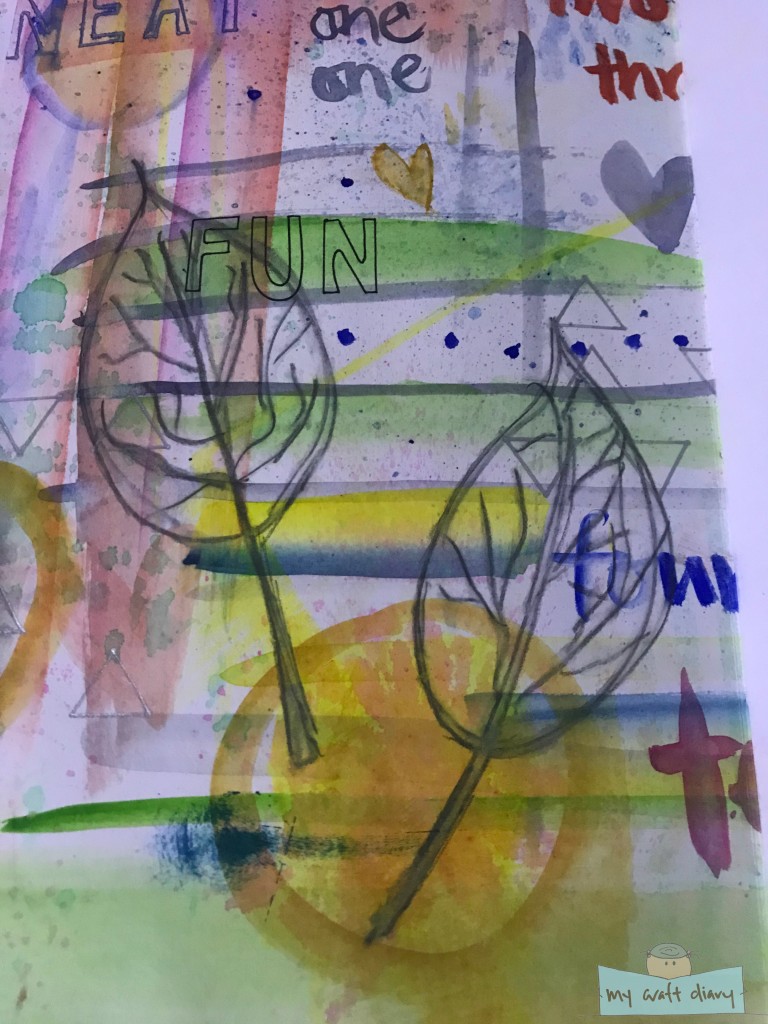
Day 18 is the quickest for the whole week, as I was busy video conferencing with friends, and needed to do something quick to keep true to my 100 Day Project. I just opened up a pre-painted page in my art journal, and doodled on some leaves using a water-soluble graphite pencil. It’s not a masterpiece, and I wasn’t paying too much attention, but all I wanted to achieve is to show up and do something.

Well that’s all for Day 16-18! They were more of a doing something days rather than completing something days but we can’t always be completing project after project right?

Day 7-13: #100daysofmycraftdiary

Perhaps blogging only periodically is not the best way of marking progress on a 100-day long project, but in the last week, I have been otherwise occupied and lacking sleep, so I really didn’t want to start blogging at 12 midnight. Highlights of my reflection/learnings in the past week:

  • I learnt that I can’t multi-task. At any one point, I can only dedicate my energy to one project at a time, and can’t spare the energy or creativity to nurture other things. Note to future self: if I choose to continue this project in the future, I ought to narrow down the things I want to accomplish so that I can really focus and complete it.
  • I made my first lapse and didn’t show up on Day 8 and 9. I think on Day 8 I may have watched some online class videos, and I did something really quick without thought on Day 9. Instead, I locked myself up in an imaginary world, completely sucked into this Harry Potter fanfiction that I was reading. It’s the first time in a while since I was really immersed in a fictional world, so I let myself get carried away and live in it for two days. Did I regret it? Absolutely not, it was the most amazing experience and it’s indulging in my creativity so in my mind I kinda let myself off as it being part of ‘My Craft Diary’.
  • I work best by striking the iron while it is hot. When I get an idea, I work on it immediately, because it slips out of my grasp if I sit on it. When the muse strikes, I just keep doing until I run out or until I’m tired, and those are the most productive and rewarding days. The problem comes if the muse strikes at say 12 midnight, and I have to either sacrifice sleep or my creativity. Most days I sacrifice sleep, but even I can admit that lack of sleep is getting to me, and there’s this almost constant throbbing between my eyes that make it hard to concentrate sometimes. Managing the balance is still key here and I hope that I get better at this by the end of this 100 days.
  • I have short term memory. Weekly review sounds like a great idea, until I cannot remember what I did on which day and have to think really hard on what I did.

Last week’s craft diary is a little more varied. I worked on different journals which then prompted me to use different supplies according to the different journal’s style. Here’s Day 7-13 #100daysofmycraftdiary highlights in photos:

This is from my Smashbook, and I made this spread previously for ‘Weathering With You’ the movie. Day 7 saw me writing the little journal card that was tucked into the pocket here, reflecting and writing stream of conscious regarding the movie and whatever I linked it to.

Day 10: Played around with corrugated cardboard printing. I peeled off the top layer of cardboard to reveal the corrugated cardboard below (left in the picture). Then I used acrylic paint to print on an old blank notebook papers that I was going to throw away, turning them into sheets of journal spots instead. I love how the prints turn out and they make nice grungy journal spots, as you saw in the picture before this.
Day 11: Art journal page “If you’re going to fail, fail big.” Went back to Kasia’ Advent Calendar prompt #4, ‘Collage using elements from first 10 pages of a magazine’. This was very challenging for me, but also fun as I tried to use elements in different ways from how I usually would. Where I would usually use elements as a whole, I cut apart the elements to utilise them instead. Titled so because I felt like I failed the prompt – I don’t hate how it turns out, but it definitely didn’t speak out to me. Some elements that I really liked includes the random arm (cutting limbs shall be a new fetish), cutting circles and cutting strips from a ‘pattern’. I cheated and used paint marker to tie some of the elements together. I may try this again as it was rather freeing to just put together collage elements. You may recognise the background from last week’s rainbow roll page.
Day 12: Flipped through my scraps folder and found some transparency tags that I was gifted in an Art Swap. I used them to trace and cut out some tags and thought it was a fantastic idea to have plastic templates such as these. I took out some transparency scraps and cut out the two template on the right, meant to be pockets in a journal. These were gifted to me together with the transparency tags, but the paper is rather thin and not suited to be used as templates. Now that I made the plastic templates, I can stop hoarding them and use them as I wish!
Day 12: Art Journal page “Sprinkle Creativity”. Sometimes as I craft I like to have something playing in the background. Sometimes it’s music but mostly I try to opt for a podcast since it is the only time I can have podcast on and do something else at the same time. This day, I had Amy Tangerine’s podcast ‘Craft a Life You Love’, Episode 50 ‘Sprinkle Positivity Confetti into Your Everyday with Natalie Keller Pariano’ which directly inspired this page. The ‘sprinkles’ were scraps from Day 11 collage page. It doesn’t show up on camera, but I added some subtle sparkle to them using a clear Wink of Stella marker. The colourful background is from a waste paint paper that I bounded into my art journal. Always fun to work on a non-blank page in my art journal.
Day 13: Art Journal page “Go for a walk”, from Day 5 of Kasia’s Advent Calendar prompt of the same name. The journaling reads “Imagine going out during covid lockdown. I see trees from my window instead.” I was inspired by the leaves of said tree, and I wanted to made an all over pattern. Thought of August Wren at the same time, so I took out my gouache and coloured in a background afterwards. That didn’t work out too while because my burnt umber and burnt sienna come out of their tubes as a crumbly mess, so they are really difficult to work with. It shows up in the unevenness here, as I can’t mix a puddle of colour and can only do a small bits at a time. Otherwise, I love the creamy texture of my gouache, but I feel a learning curve for this medium.

Phew, that’s a lot of sharing at one go huh. Maybe I should revert to daily posting instead for the next week. We’re two-weeks into the project and still 76 more days to go. Welp. But I’m excited, are you excited about your project too?

Europe Travel Journal flipthrough

I’m back again, this time with a flipthrough of my Europe Travel Journal! I filmed this last month, but took a long time deciding if I want to put it out to the internet world, and to make some edits to the video. This is the first video that I’ve film and uploaded for everyone to see, so please be forgiving if the standards/quality isn’t very high. The original video quality is actually much better, but there was a drastic lost of quality after I rotated the video, something that couldn’t be avoided due to my filming setup. Will have to think of something so that I don’t have to rotate the video in the future!

And here’s the video:

Some basic information for my travel journal: The size is 7″ x 11″, which is a size I’ve gotten comfortable with over the years (my smashbooks are the same size). The covers are made from cereal boxes, and the inside pages are cut from a combination of mostly drawing paper and some scrapbook papers. I used a hole punch to punch six holes on the side and then bound them together with office binder rings.

Just to draw out some points that I mentioned in the video that would be helpful if you want to make your own travel journals:

  • When attaching tags with ribbons, I like to cut a small sheet of craft foam to prop up the tag. This helps the tag to lay flat and neat, as the foam offsets the bulk from the tied ribbon.
  • Have an idea of which parts of the map you want to display before folding the map to the same size as the journal.
  • You can include cut outs from travel guidebooks that you obtain during your trip, especially those free ones that gives tourist useful information and overview of the city. This is especially helpful if you don’t have a lot of ephemera collected from certain places.

This is the first dedicated travel journal I had made, and I am very happy with how it turned out. To me, it’s just such a beautiful thing, and I love it so much. Hope you enjoy taking a look at this flipthrough and I hope you will let me know what you think of the video (:

August’s Instagram 2015

I thought I’ll do a monthly sharing review of crafting related pictures on my Instagram account since they won’t appear on the blog otherwise. So here are all the pictures for the month of August:

image
My first page in my brand new Midori Traveller’s notebook. I bought the kraft pages one because I thought it would be less see through than white and it has sewn binding rather than staples.

image
First proper sketch that I did and I’m quite happy with how it turned out. Done in my morning journal, which I created as part of Amy Tangerine’s creative handbook.

image
This was a page from my smashbook, featuring my visit to the Fifty Years of Singapore Design exhibition that I talked about in a previous post.

image
A sketch of an orange in my morning journal because I feel like it. Couldn’t manage to get a right shade of orange, but I manage to get over it. Did you notice the texture of the orange slices?

image
Another morning journal sketch, featuring a tea bag. And this is also the point where I decide that I don’t like Chai.

image
My blackout poem from Amy Tangerine’s creative handbook. This exercise is inspired by Austin Kleon’s trademark blackout poems. It is actually quite therapeutic to be blacking out all the words that don’t matter. Also, I recommend anyone who does creative work to read Austin Kleon! (I read Steal like an Artist.)

image
A page spread from my Midori Traveller’s notebook. This is like a scrapbook page, but I wanted to work on something smaller scale than a 12×12 layout so I choose this instead.

image
This artwork is the prime example of what Julie Fei-Fan Balzer would call a creative opportunity – I wanted to mix green and blue with a little bit of white but ended up squeezing out a giant blob of white instead and ended up with this pretty colour that I wouldn’t get otherwise. Created on cardboard packaging, and finished up with some fussy-cut stamped flowers and hand stitching of my handwriting script. This is currently adorning a door in my craft cupboard.